You’re all set for a DIY project, sitting with your iPad and a brand-new Silhouette Cameo beside you. A friend once called me in the same situation, excited to start making stickers and labels, but stuck at one point. The machine was ready, the iPad was charged, yet they had no idea how to connect both devices.
I stayed on the call and walked them through the process ‘step by step‘. We checked Bluetooth, opened the app, and tried a few simple taps until the machine model finally showed up on the screen. That small win brought instant relief. If you are facing the same issue, this guide will show you ‘how to connect your Silhouette Cameo to an iPad‘ in easy steps, just like I did for my friend, so you can start creating without stress.
Things to Know Before You Start
Before you try ‘How to Connect Silhouette Cameo Machine to iPad‘ device, there are a few basic things you should know. Not every setup works the same way, so checking these points first saves time and confusion.
- iPad compatibility: The Silhouette Studio software does not run directly on an iPad. You will use the Silhouette Go app, which has limited tools.
- Supported Cameo models: Most newer machine models support Bluetooth, which is needed for iPad connection.
- Bluetooth and internet: Bluetooth must be turned on for the iPad and your crafting machine. The Internet is required to sign in, download designs, or sync files.
- Design limits: For full design control, you still need the ‘Silhouette Studio app‘ on a computer and send files to the iPad if needed.
Install the Silhouette App on iPad
To connect your Silhouette Cameo app with an iPad device, you first need the right app installed.
- Firstly, you have to open the App Store on your iPad.
- In the search bar, type Silhouette Go and download the official app by Silhouette.
- Once the app installs, open it and sign in using your account.
- This app lets you send ready designs to your machine using Bluetooth and works well for simple projects.
Keep in mind, Silhouette Go supports basic tasks only. If you want full design control, then you still need the Silhouette Studio software on a computer. Many users access it on an iPad by using a screen-sharing app to control their computer from the iPad.
Turn On Bluetooth on Your iPad
Before connecting your cutting machine, make sure Bluetooth is on your iPad. Open the Settings app, then tap the Bluetooth option, and switch it on. The toggle will turn green, which means Bluetooth is ready. Also, keep this screen open for a moment, so your iPad can search for nearby devices. Once Bluetooth is on, your mobile device will be ready to pair with the machine in the next step.
How to Connect Silhouette Cameo to iPad?

Once Bluetooth is ready on your smartphone, you can connect your crafting machine in just a few simple steps.
- To get started, turn on your ‘Silhouette Cameo‘.
- After that, press the Bluetooth button on the machine until the ‘light starts blinking‘. This shows the machine is ready to pair.
- Next, you have to open the ‘Silhouette Go app‘ on your mobile device.
- The app will automatically search for nearby machines.
- When you see your ‘Silhouette Machine Model‘ listed on the screen, tap on it.
- Now, perform the on-screen steps to finish pairing.
- Once the connection is done, your machine will show as connected, and you can send designs from your iPad to the machine for cutting.
How to Setup the Silhouette Machine in the App?
Once your iPad connects, open the app and set up your Silhouette Cameo before sending a task. Select the correct model from the list so the app matches your machine’s settings.
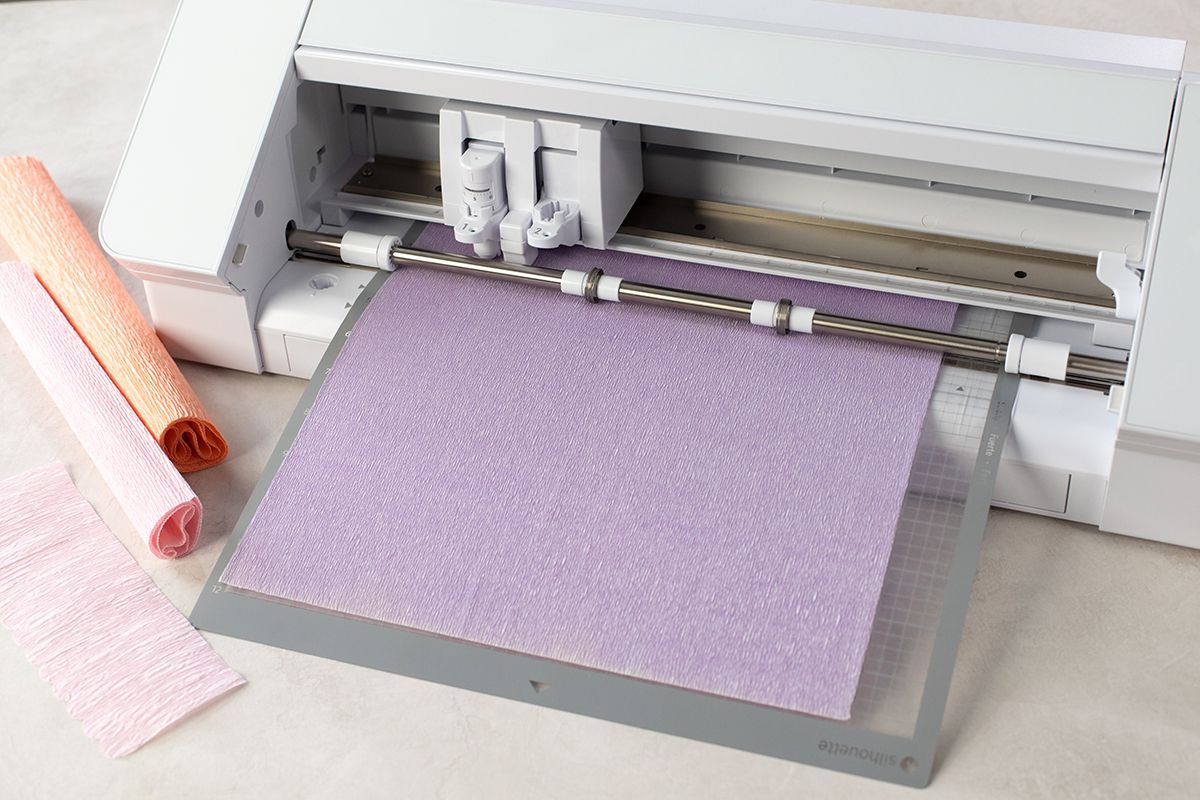
Now, load your material on the cutting mat and check that it sits flat. In the app, pick the right mat size and material type. After that, choose your action, such as Cut or Sketch, and select the tool you plan to use.
Send a Test Design
Before starting a full project, it is a good idea to send a small test design. Choose something simple, like a basic shape or small text, from the app’s library. This will help you check if the machine connects properly and follows the settings you selected.
Once the design is ready, preview it on the screen and send it to be cut. Watch how the Cameo cuts the material. If the cut looks clean and smooth, your setup is good to go. For print and cut projects, print the design first, then let the app scan the registration marks and finish the cut.
Frequently Asked Questions (FAQs)
How to Connect My Silhouette Cameo with Bluetooth?
Learn ‘how to connect your Cameo with Bluetooth’, turn on the machine and wait for the blue light to blink. Next, you will need to open Bluetooth settings on your device and pair the machine. After that, open the Silhouette Studio app, select your model, and start cutting wire-free.
How to Connect a Silhouette Cameo to My Computer?
First, install the Silhouette Studio app on your PC and complete the machine setup. Turn on your Cameo and keep it close to your PC. For a USB connection, plug the cable into the machine and your PC, not through a hub. The app should detect the silhouette machine model automatically.
For Bluetooth, turn on the Bluetooth option on your machine. Open your computer’s Bluetooth settings, find the machine name in the list, and pair it. Once paired, open the app, choose your model, and start cutting.