
When you bring home a new ‘Silhouette Cameo 4‘, you want to start creating right away, but the software setup can feel confusing if it’s your first time. Many people open the box, plug in the machine, and pause because they are not sure what to download or where to begin. If you have been in that spot, don’t worry – you’re not alone.
In this blog, I will guide you through “how to download the Silhouette Cameo 4” app in easy steps. Whether you are setting up your machine right after unboxing or reinstalling the software on a new computer, you will find everything you need here without any stress.
What Is Silhouette Studio?
Silhouette Studio is the main software you need to design projects for your Cameo 4 machine. It is free to download and works with most Silhouette machines. The app lets you create things like stickers, labels, T-shirt designs, paper crafts, and vinyl cuts right on your computer.
You can draw shapes, add text, edit designs, or import your own images. Once your design is ready, you send it to the machine for cutting. Whether you are just starting or already know your way around crafting, Silhouette Studio keeps everything simple and gives you full control over how your DIY project looks.
Because it works with the Cameo 4 machine, you do not need any other program to prepare your project designs. Everything you create in the software can be cut with the best results.
System Requirements to Download Silhouette Studio
Before you download Silhouette Studio for your Cameo 4 machine, make sure your computer meets the basic system needs. This will help the app run smoothly and prevent issues during setup.
Operating System
- Windows: Windows 10 or newer
- Mac: macOS 10.14 (Mojave) or newer
The software does not work on Chromebooks, tablets, or mobiles.
Hardware
- Processor: 2 GHz or faster
- RAM: At least 4 GB (8 GB gives a smoother experience)
- Storage: Minimum 2 GB free space
- Port: USB 2.0 or higher
- Bluetooth: Bluetooth 4.0 if you plan to connect wirelessly
Internet
- You need an ‘active internet connection‘ to download the software, get updates, and access the Design Store.
Important note: If your Windows computer is in S Mode, you may need to switch out of it to install the app. MacBooks with only USB-C ports will require a USB adapter for a wired setup.
How to Download Silhouette Studio Software?
Downloading the app for your Cameo 4 machine is quick and doesn’t require any paid upgrade. The basic version is free and works with all Silhouette cutting machines.
- Firstly, you have to visit the Silhouette software page – silhouetteamerica.com.
- Once you reach the site, you will see a list of available programs.
- Look for Silhouette Studio and choose the Download button that matches your computer, either Windows or Mac.
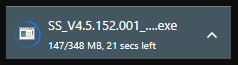
- After you click, the file will begin downloading in the background.
- Now, let it finish completely before moving to the next step.
Windows
Mac
You don’t need to buy anything to get started. Paid upgrades only add extra tools, so the free version is more than enough for regular cutting, printing, and basic design work.
Installation on Your Computer (Windows/Mac)
Now that you have downloaded the setup file, you can install the ‘Silhouette Studio App‘ on your computer by following the steps for your system.
For Windows
- Once the download finishes, keep your browser open.
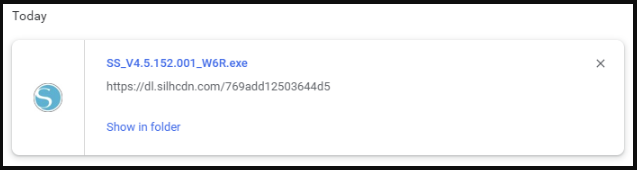
- After that, press CTRL + J on your keyboard. This shortcut opens your browser’s download list so you can find the installer file you just downloaded.
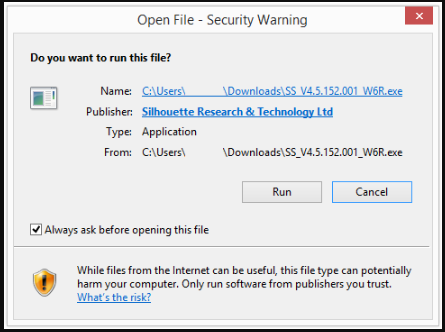
- Next, click on the file from the list. If a message appears asking whether you want to run the file, then choose Run.
- The installation window will open, and you have to follow the steps on your screen. It will guide you through the setup until the program is fully installed.
- When everything is done, open the app from your desktop or start menu. Now, ready to use with your crafting machine.
For Mac
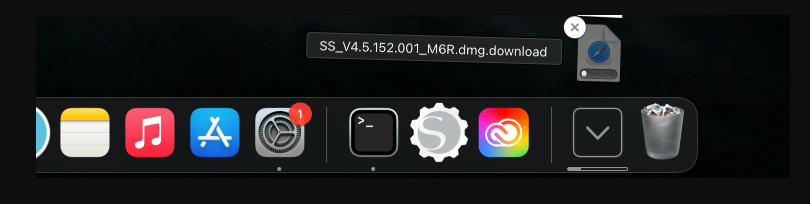
- If you’re using a Mac system, go to your Downloads folder. You will find a ‘DMG file‘ with the ‘Silhouette Studio‘ name. And then, double-click the file to open it.
- A window will appear with the Silhouette Studio icon. Drag this icon into your Applications folder.
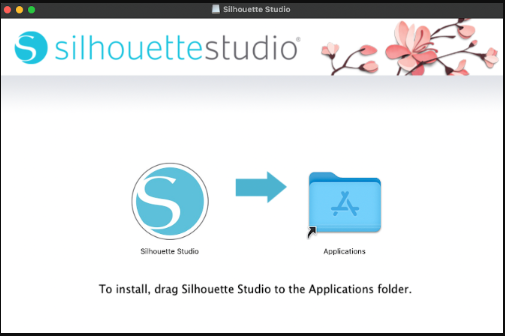
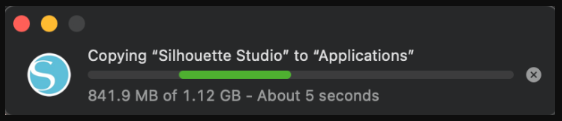
- Your computer will handle the installation process from there.
- Once the process finishes, open the app from your Applications folder. The program will launch and get ready for your first project.
Connecting Your ‘Silhouette Cameo 4‘ to the Software
Once the app is installed, connect your cutting machine to the software so it can receive your designs. The connection process is quick and only takes a moment.
- Initially, turn on your machine and place it close to your computer. You can connect it in two ways: USB cable (wired) or Bluetooth (wireless).
- For USB Connection:
- Plug the USB cable into your machine and then into your PC. The software will pick it up right away, and the machine model name will appear in the Send panel.
- For Bluetooth Connection:
- Make sure Bluetooth is on in your Cameo 4 machine.
- Next, you have to open Silhouette Studio, go to the Send panel, and wait for the machine to show up on the list.
- Now, select it once it appears. If you are using a Windows PC in S Mode or a Mac with only USB-C ports, make sure the proper settings or adapters are in place.
When the machine connects, the status will change to “Ready.” This means your Silhouette Cameo 4 and Silhouette Studio are connected, and you can start sending your project designs for cutting.
Frequently Asked Questions (FAQs)
How to load Material into Silhouette Cameo 5?
To load material into the Silhouette cutting machine, follow these steps:
- Prepare the material you want to cut, such as vinyl or paper.
- Place the material on the cutting mat if required. Align it properly.
- Open the Cricut machine cover.
- Press the “Load” button on the machine or the Silhouette software.
- Gently slide the mat into the Silhouette machine until it aligns with the rollers.
- Press the “Load” button again to load the material fully.
- Make sure that the material is straight and secure in the Silhouette Machine.
Make sure the machine is set to the correct settings for your material type before beginning the cut.